Arduino Yún Console Read
Parse information from the Console and repeat it back.
This example for a Yún device reads data coming from Bridge using
Console.read()To see the Console, pick your Yún's name and IP address in the Port menu then open the Serial Monitor. You can also see it by opening a terminal window and typing:
ssh root@ yourYunsName.local 'telnet localhost 6571'When running this example, make sure your computer is on the same network as the Yún device.
Hardware Required
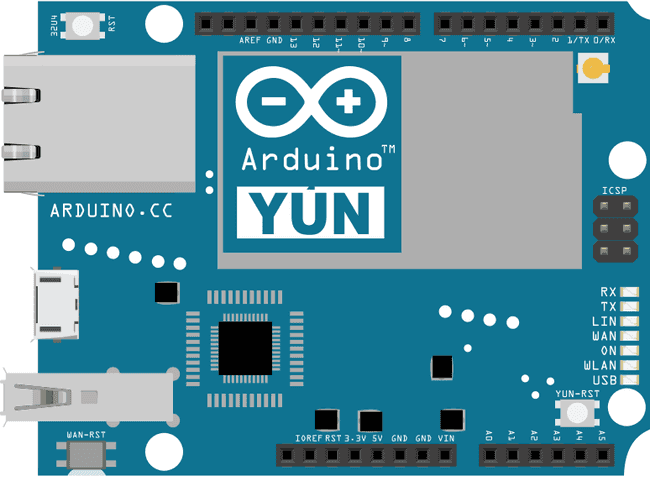
Yún board or shield
computer and Yún device on the same wireless network
Circuit
There is no circuit for this example.

image developed using Fritzing. For more circuit examples, see the Fritzing project page
Code
Include the Console library, which inherits from Bridge.
#include <Console.h>Create a string to hold the information from the Bridge
String name;In
setup()1void setup() {2
3 Bridge.begin();4
5 Console.begin();6
7 while (!Console);8
9 Console.println("Hi, what's your name?");10}In
loop()1void loop() {2
3 if (Console.available() > 0) {4
5 char c = Console.read();If the character is a newline ("\n"), it is the last character in the incoming string. Print out the string to the Console, ask for more information, and clear the string.
1if (c == '\n') {2
3 Console.print("Hi ");4
5 Console.print(name);6
7 Console.println("! Nice to meet you!");8
9 Console.println();10
11 Console.println("Hi, what's your name?");12
13 name = "";14
15 }16}If the character in the buffer is not a newline, add it to the end of the string.
1else {2
3 name += c;4
5 }6
7 }8}The complete sketch is below :
1/*2
3Console Read example for YunShield/Yún4
5 Read data coming from bridge using the Console.read() function6
7 and store it in a string.8
9 To see the Console, pick your Yún's name and IP address in the Port menu10
11 then open the Port Monitor. You can also see it by opening a terminal window12
13 and typing:14
15 ssh root@ yourYunsName.local 'telnet localhost 6571'16
17 then pressing enter. When prompted for the password, enter it.18
19 created 13 Jun 201320
21 by Angelo Scialabba22
23 modified 16 June 201324
25 by Tom Igoe26
27 This example code is in the public domain.28
29 http://www.arduino.cc/en/Tutorial/ConsoleRead30
31 */32
33#include <Console.h>34
35String name;36
37void setup() {38
39 // Initialize Console and wait for port to open:40
41 Bridge.begin();42
43 Console.begin();44
45 // Wait for Console port to connect46
47 while (!Console);48
49 Console.println("Hi, what's your name?");50}51
52void loop() {53
54 if (Console.available() > 0) {55
56 char c = Console.read(); // read the next char received57
58 // look for the newline character, this is the last character in the string59
60 if (c == '\n') {61
62 //print text with the name received63
64 Console.print("Hi ");65
66 Console.print(name);67
68 Console.println("! Nice to meet you!");69
70 Console.println();71
72 // Ask again for name and clear the old name73
74 Console.println("Hi, what's your name?");75
76 name = ""; // clear the name string77
78 } else { // if the buffer is empty Console.read() returns -179
80 name += c; // append the read char from Console to the name string81
82 }83
84 } else {85
86 delay(100);87
88 }89}Last revision 2016/05/25 by SM
Suggest changes
The content on docs.arduino.cc is facilitated through a public GitHub repository. If you see anything wrong, you can edit this page here.
License
The Arduino documentation is licensed under the Creative Commons Attribution-Share Alike 4.0 license.