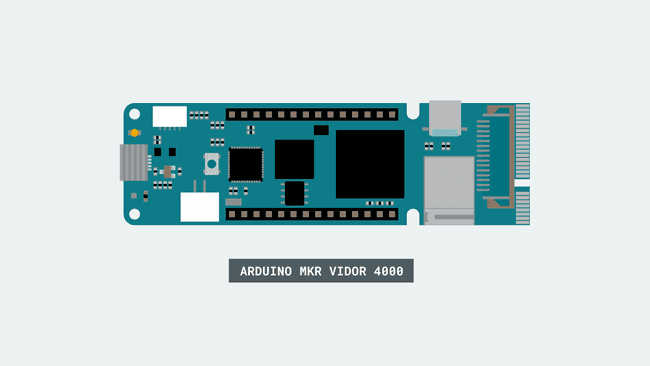
Draw Arduino Logo with MKR Vidor 4000
Draw the Arduino Logo on an HDMI monitor, using the MKR Vidor 4000 board.
This example uses the drawing functions of the VidorGFX library to recreate on screen our beloved logo, in a stylized form. The functions available for the graphics generation are the same of the Adafruit_GFX library.
Hardware Required
microHDMI to HDMI cable or adaptor
Monitor with HDMI input
Circuit
There is no circuit for this example.

Code
Include the Vidor_GFX library, which is part of VidorGraphics.
#include "VidorGraphics.h"#include "Vidor_GFX.h"
To manage graphics on screen you need to create an object with
Vidor_GFX vdgfx;The complete sketch is below and you find it in the examples from Libraries, under VidorGraphics :
1#include "VidorGraphics.h"2#include "Vidor_GFX.h"3
4Vidor_GFX vdgfx;5
6void setup() {7
8 Serial.begin(9600);9
10 // wait for the serial monitor to open,11
12 // if you are powering the board from a USB charger remove the next line13
14 while (!Serial);15
16 // Initialize the FPGA17
18 if (!FPGA.begin()) {19
20 Serial.println("Initialization failed!");21
22 while (1) {}23
24 }25
26 delay(4000);27}28
29void loop()30{31
32 /**33
34 * Draw an Arduino logo35
36 */37
38 // Fill the screen with a white background39
40 vdgfx.fillRect(0,0,640,480,vdgfx.White());41
42 /**43
44 * The library allows drawing some basic elements to the view, like circles, rectangles, lines45
46 */47
48 vdgfx.fillCircle(225,225,100 ,vdgfx.lightBlue());49
50 vdgfx.fillCircle(415,225,100 ,vdgfx.lightBlue());51
52 vdgfx.fillCircle(225,225,90 ,vdgfx.White());53
54 vdgfx.fillCircle(415,225,90 ,vdgfx.White());55
56 vdgfx.fillRect(175,220,100,10 ,vdgfx.lightBlue());57
58 vdgfx.fillRect(365,220,100,10 ,vdgfx.lightBlue());59
60 vdgfx.fillRect(410,175,10,100 ,vdgfx.lightBlue());61
62 /**63
64 * To draw a text we can use the classic functions like write() and print()65
66 * Text size, color and position can be changed using the .text subclass67
68 */69
70 vdgfx.text.setCursor(150,375);71
72 vdgfx.text.setAlpha(255);73
74 vdgfx.text.setSize(3);75
76 vdgfx.text.setColor(vdgfx.lightBlue());77
78 vdgfx.println("ARDUINO");79
80 vdgfx.text.setCursor(480,145);81
82 vdgfx.text.setSize(1);83
84 vdgfx.println("TM");85
86 while (1) {87
88 }89}Last revision 2018/07/22 by SM
Suggest changes
The content on docs.arduino.cc is facilitated through a public GitHub repository. If you see anything wrong, you can edit this page here.
License
The Arduino documentation is licensed under the Creative Commons Attribution-Share Alike 4.0 license.